Mastering GitHub Actions Triggers
Think of GitHub Actions triggers as the starting pistol for your CI/CD workflows. They’re the specific events happening in your GitHub repository—like a new commit or a pull request being opened—that kick off a whole chain of automated tasks. No more manual button-pushing to get your code built, tested, and deployed.
How GitHub Actions Triggers Automate Your Code
Imagine your entire development process is a finely tuned assembly line. Without automation, every step requires a human to press a button to move things along. It’s slow, and it’s easy to make mistakes.
GitHub Actions triggers are the smart sensors and robotic arms on that assembly line. They instantly detect when a new part (your code commit) arrives and automatically guide it through every station—compiling, testing, and deploying—with perfect consistency and speed every single time.
This is the whole idea behind modern Continuous Integration and Continuous Deployment (CI/CD). Instead of waiting for someone to manually run tests or deploy a new version, triggers create a reliable, event-driven system. The result? Fewer human errors, faster feedback for developers, and a much smoother journey from a line of code to a feature your users can enjoy.
The Trigger-Workflow Connection
At its core, a trigger is just a simple instruction you place in your workflow’s YAML file under the on: key. It’s a direct command to GitHub that says, "When this specific thing happens, I want you to run these specific jobs." This direct link is what makes the whole system so powerful and flexible.
The push trigger is easily the most common starting point. It fires up a workflow anytime code is pushed to a branch in your repository. It's just one of many ways to get your automation rolling, and you can get pretty creative by exploring different ways to trigger a workflow with code.
This visual from GitHub's own documentation nails the concept. An event happens, and boom—the workflow starts, running whatever jobs you’ve defined.
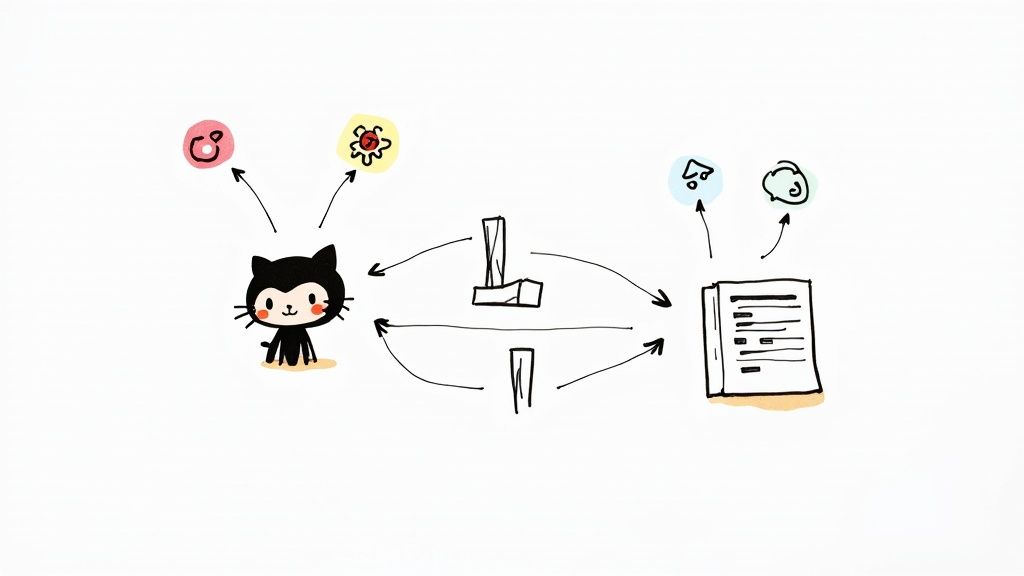
It’s a simple but powerful idea: a repository event is the catalyst for your entire automated process.
To really see how this works in practice, it helps to look at the most common triggers and what teams typically use them for.
Common GitHub Actions Triggers and Their Uses
This table breaks down a few of the most popular triggers and connects them to real-world CI/CD tasks.
| Trigger Event | Description | Common Use Case |
|---|---|---|
push |
Runs when code is committed and pushed to a branch. | Automatically running unit tests and building the application on every single commit. |
pull_request |
Activates when a pull request is created, updated, or closed. | Running integration tests, linting, and code quality checks before merging new features. |
schedule |
Executes the workflow at a specific time using cron syntax. | Performing nightly builds, running security scans, or generating daily reports. |
As you can see, each trigger is perfectly suited for a different stage of the development lifecycle, from immediate code validation to scheduled maintenance.
Alright, we've covered the what and why of GitHub Actions triggers. Now it's time to roll up our sleeves and put them to work.
We're going to start with the big three—the event triggers you'll find yourself configuring nearly every day: push, pull_request, and workflow_dispatch. Think of these as the foundation of almost any CI/CD pipeline you'll build.
The diagram below shows how these core triggers are the main starting points for a typical workflow.
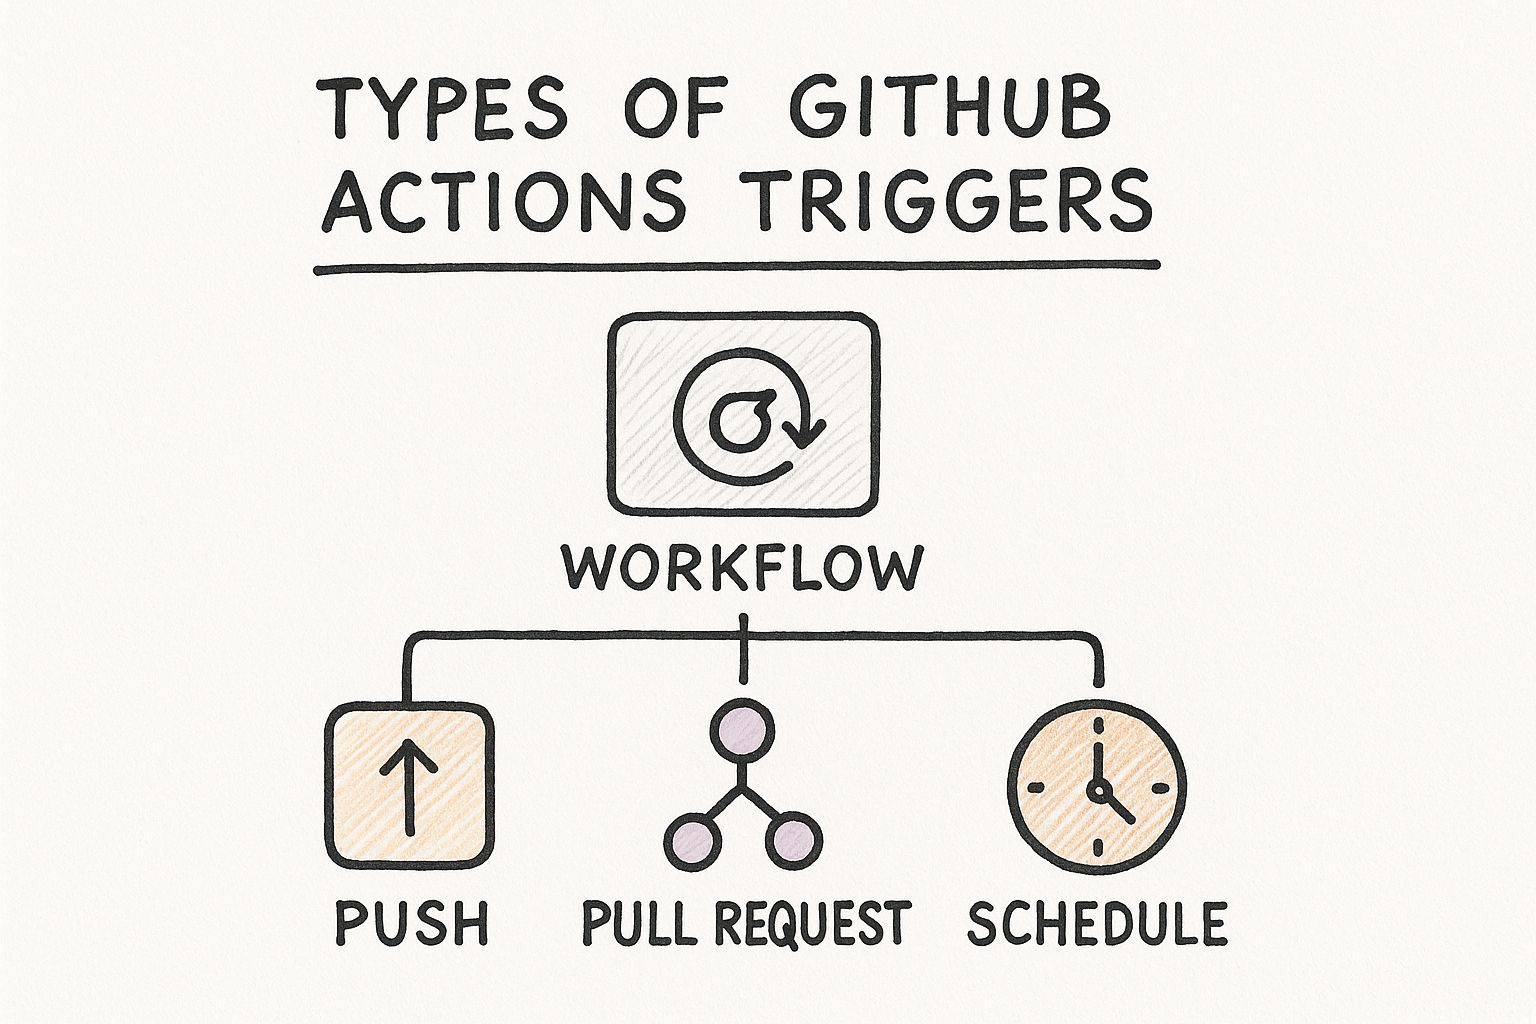
Whether you're pushing new code, opening a pull request, or just need to run something manually, each action is a distinct entry point for your automations. Simple, right?
Triggering Workflows on Push Events
The push trigger is your most direct line to automation. At its simplest, it kicks off a workflow anytime someone pushes commits to your repository. But running your entire pipeline on every single push is a quick way to burn through your CI minutes. Smart pipelines are more precise.
A much better approach is to restrict the trigger to specific branches or tags. For instance, you might only want to run your deployment workflow when code is pushed to your main branch, or when a new version tag is created. This stops your test suite from running on every little commit to a feature branch, which is a huge time and resource saver.
.github/workflows/main-deployment.yml
name: Deploy to Production
on:
push:
branches:
- 'main' # Only runs on pushes to the main branch
tags:
- 'v*..' # Also runs when a version tag like v1.2.3 is pushed
With a setup like this, you know your deployment workflow only kicks in for changes that are truly ready to go live, not just for work-in-progress.
Handling Pull Request Events
Next up is the pull_request trigger, an absolute essential for any pre-merge validation. This trigger lets you run jobs like linting, unit tests, and security scans before new code gets merged, letting you catch problems early.
By running automated checks on every pull request, teams can enforce quality standards and reduce the likelihood of introducing bugs into the main codebase. This trigger acts as a quality gatekeeper.
You can get incredibly specific here by using types. These let your workflow react differently depending on what's happening with the pull request.
opened: The workflow runs as soon as a new pull request is created.synchronize: This one fires every time new commits are pushed to the pull request's branch.closed: The workflow runs when a pull request is merged or closed without merging.
This level of control is where the real power lies. For example, you could run your full test suite when a PR is opened or synchronized, but then trigger a totally different cleanup job once it's closed.
Enabling Manual Triggers with Workflow Dispatch
Sometimes, you just need to run a workflow on demand, completely separate from any repository event. That’s exactly what workflow_dispatch is for. It adds a "Run workflow" button right in the Actions tab of the GitHub UI, giving you a manual start button.
This is perfect for tasks like:
- Kicking off a deployment to a staging environment.
- Running a complex diagnostic script to debug a live issue.
- Backfilling data or performing some other one-off maintenance task.
Setting it up is dead simple, and you can even define input parameters for users to fill out when they run the workflow. If you want to dive deeper, you can learn more about configuring GitHub Actions workflow_dispatch in our guide. This manual control is a fantastic escape hatch, giving your team the flexibility to act outside of fully automated triggers.
Not all automation is kicked off by a git push. In fact, some of the most powerful workflows you can build are the ones that run on their own schedule or get triggered by something happening completely outside your repository.
This is where scheduled and external GitHub Actions triggers change the game. They let you move beyond simple CI/CD and build some seriously sophisticated systems for maintenance, reporting, and integrating with all sorts of third-party tools.
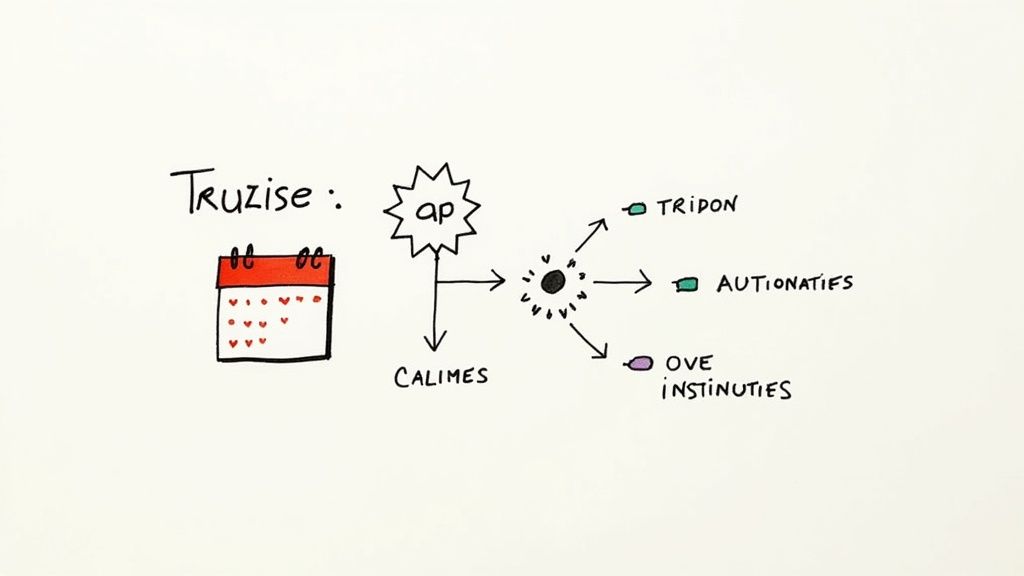
Running Workflows on a Schedule
Think of the schedule trigger as your automation's alarm clock. It uses the classic cron syntax to run a workflow at specific times, which is perfect for routine jobs that have nothing to do with recent code changes. It’s like setting a recurring calendar event for your codebase to perform a health check.
This is a go-to for tasks like:
- Nightly Builds: Compiling and testing the entire application every night is a great way to catch subtle regressions that might have slipped past the checks on individual pull requests.
- Daily Security Reports: You could have a workflow that runs a dependency scanner like Snyk at the same time every morning, giving you a fresh security report with your coffee.
- Automated Cleanups: Imagine a job that runs every Sunday to prune old build artifacts, close out stale issues, or clear down temporary tables in a staging environment.
Setting one up is straightforward. Here’s a simple example that runs a workflow every Monday at 3:15 AM UTC:
on:
schedule:
- cron: '15 3 * * 1'
With this in place, you can guarantee that essential maintenance and validation happen like clockwork, all without anyone having to lift a finger.
Responding to External Events with Repository Dispatch
But what if you need to kick off a workflow from somewhere else entirely? Maybe from a deployment tool, a custom internal dashboard, or another microservice? That’s precisely what the repository_dispatch trigger was built for. It creates a special webhook endpoint that allows authenticated, external systems to trigger a workflow.
This trigger acts as a secure front door, letting other applications talk to your GitHub repository's automation. All you need to do is send an HTTP POST request to a specific GitHub API endpoint.
The repository_dispatch trigger essentially turns your GitHub Actions workflow into a lightweight API. It decouples your automation from repository events, letting any authorized external service call the shots.First, you tell your workflow to listen for this event. You can even specify different types to handle different kinds of requests.
on:
repository_dispatch:
types: [deploy-staging, run-performance-test]
Then, your external service can fire it off with a POST request. The best part? You can include a custom client_payload in the request body, passing in data like version numbers or environment names directly to your workflow. This unlocks some incredibly powerful integrations, letting anything from a CI/CD platform to an IoT device initiate complex actions right inside your repository.
As your projects get bigger and your teams grow, running every single workflow on every single trigger event just doesn't scale. It burns through your CI/CD minutes, clutters up your Actions logs, and ultimately, slows down how quickly you get feedback. This is exactly where advanced trigger filters save the day, giving you the power to run workflows only when you actually need to.
Think of these filters like a bouncer at a club. Instead of a free-for-all, the bouncer checks a list to make sure only the right people get in. In the same way, trigger filters inspect the details of an event before giving a workflow the green light.
Pinpointing Changes with Path Filtering
One of the most useful filtering tricks is using paths and paths-ignore. This is an absolute game-changer for monorepos, where you might have multiple, independent projects all living in one repository. Without path filtering, a simple tweak to your README could kick off a full-blown deployment pipeline for your backend API. Nobody wants that.
The paths filter tells a workflow to run only if a change touches a specific file or directory. On the flip side, paths-ignore tells the workflow to run unless the change is isolated to certain paths.
Here’s a classic example for a monorepo with a frontend app and a backend service:
.github/workflows/frontend-ci.yml
name: Frontend CI
on:
push:
branches: [ main ]
paths:
- 'frontend/**'
- '.github/workflows/frontend-ci.yml'
With this setup, the "Frontend CI" workflow only springs into action when code is pushed to the main branch and the changes are somewhere inside the frontend/ directory. It’s a simple but powerful way to stop pointless workflow runs and save a ton of resources—a common headache for teams managing large codebases.
Responding to Specific Event Activities
Beyond just file paths, you can get even more granular by filtering workflows based on the activity type of an event. For triggers like pull_request or issues, GitHub offers a whole list of specific actions you can listen for, letting you build some really precise automations.
Let's say you want a workflow that only runs when a senior developer slaps a "critical-bug" label on an issue. You can configure your trigger to react only to the labeled activity.
opened: Fires when an issue or pull request is created.labeled: Runs when a label gets added.closed: Kicks off when an issue or pull request is closed.
By filtering on activity types, you turn your workflows from blunt instruments into surgical tools. You can build automation that triages issues, assigns reviewers, or sends notifications based on very specific user actions within GitHub.
Using Job-Level Conditional Logic
For the absolute highest level of control, you can use if conditionals right on your jobs. While trigger filters decide if a workflow run should even start, if conditionals determine if a specific job inside that run should execute. This logic taps into the rich context data available in every workflow, like github.actor (the user who triggered it) or github.ref (the branch or tag).
For example, you might want to skip a deployment job if the pull request came from a fork, which is a common security practice. You can find even more advanced patterns by exploring how to run GitHub Actions on certain pull requests.
jobs:
deploy-to-staging:
if: github.repository == 'my-org/my-repo'
runs-on: ubuntu-latest
steps:
- name: Deploy
run: echo "Deploying to staging..."
This job will only run if the event originated from your main repository, effectively blocking deployments from external forks. Getting comfortable with these conditional expressions is a huge step toward building secure, efficient, and truly context-aware GitHub Actions triggers.
Look, effective automation is all about being smart, not just busy. As your projects get bigger, just having GitHub Actions triggers isn't going to cut it. You need them to run intelligently to save time, money, and give you clear feedback. A poorly configured trigger quickly becomes a source of noise, creating a logjam of pointless workflow runs.
The first step to preventing this kind of waste is to get surgical with your trigger configurations. Using precise branch and path filters, like we talked about earlier, is your best first defense against redundant runs. This simple step ensures workflows only kick off when relevant code changes—a foundational practice for any cost-effective CI pipeline. You can dive deeper into more advanced techniques for cutting costs with GitHub Actions to really tighten things up.
Using Data to Tune Your Triggers
Beyond the initial setup, the real key to long-term optimization is paying attention. You can't fix what you can't see, and this is where GitHub's built-in metrics are gold. By digging into this data, you can stop guessing about performance and start making decisions based on cold, hard facts.
GitHub gives you a ton of metrics to monitor how your Actions workflows are being used. It tracks everything from total minutes consumed by jobs to performance indicators like average run times, queue times, and failure rates across all your repositories. This data helps you zero in on which workflows are eating up the most resources or where things are going wrong. You can get the full rundown on how to interpret these Actions metrics straight from the source.
The usage metrics dashboard gives you a clean, at-a-glance view of your automation's health and cost.
This dashboard immediately highlights critical data points, helping you quickly spot the most expensive or error-prone workflows in your organization.
Turning Metrics into Action
Once you have this data in hand, you can start asking the right questions to guide your optimizations. Seeing a high failure rate on a specific workflow might point to a flaky test, while long queue times could mean you need to spin up more self-hosted runners.
Here are a few key metrics to keep an eye on and what they might be telling you about your triggers:
- High Run Counts: If one workflow runs way more often than others, is its trigger too broad? Could you use
paths-ignoreor more specific branch filters to cut down on the noise? - Long Queue Times: This is a classic sign that your runners are constantly maxed out. Think about making the triggers on your longest-running jobs more selective to free up runner capacity for more critical tasks.
- High Failure Rates: A workflow that fails on every single push just creates constant, distracting noise. It might be better to switch its trigger to
workflow_dispatchso it only runs manually until you can fix the underlying problem.
By making a habit of reviewing these metrics, you shift from being reactive to proactive. You can spot trends, fix bottlenecks before they blow up, and make sure your GitHub Actions triggers are actually adding value, not just burning through your budget. This continuous feedback loop is what separates a healthy, scalable automation strategy from one that just creates chaos.
Common Questions About GitHub Actions Triggers
As you get your hands dirty with GitHub Actions, a few questions always seem to surface. The triggers can look simple at first glance, but their nuances are what separate a good workflow from a great one—and a secure one from a vulnerable one.
Let's break down some of the most common things developers ask when setting up their workflows.
Can a Single Workflow Have Multiple Triggers?
Yes, and you absolutely should. This is a super common and powerful pattern.
You can list multiple events right under the on: key in your workflow file. When you do this, GitHub will kick off a workflow run whenever any of those events happen. For example, you might want your main CI pipeline to run both when code is pushed to the main branch and when a pull request is opened against it. This way, your tests are running at every critical step. The workflow simply adapts and uses the context of whichever event triggered it.
What Is the Difference Between pull_request and pull_request_target?
Okay, this one is crucial. Getting this wrong has major security implications, so pay close attention. The difference comes down to permissions and the context the workflow runs in.
pull_request: This runs in the context of the pull request's head branch—the branch with the new changes. It’s given read-only permissions and, most importantly, cannot access secrets. This makes it the safe, default choice for running tests and checks on pull requests coming from forks.pull_request_target: This trigger runs in the context of the base branch—the branch you’re merging into. It has read/write permissions and can access secrets.
Usepull_request_targetwith extreme caution. Because it runs with elevated permissions and can access secrets while using code from an external fork, a malicious pull request could be crafted to steal your secrets or mess with your repository. It has its place for trusted actions, like automatically labeling a PR, butpull_requestshould be your go-to for almost all validation workflows.
How Can I Trigger a Workflow in Another Repository?
When you need a workflow in one repository (Repo A) to kick off a job in another (Repo B), the repository_dispatch event is your best friend. This trigger essentially creates a unique API endpoint for your repository that you can send custom events to.
From a workflow in Repo A, you'd make an authenticated API call to Repo B's dispatch endpoint. This sends a custom payload that Repo B can listen for. The workflow in Repo B just needs to be configured with on: repository_dispatch to catch that event. It's a fantastic pattern for creating loosely coupled automation—imagine a backend deployment in one repo automatically triggering a full suite of integration tests in a separate frontend repo.
Ready to stop wrestling with complex merge conflicts and CI bottlenecks? Mergify provides intelligent merge queues and CI optimization tools that save your team time and money. See how Mergify can streamline your development workflow.


