
Master Jenkins CI/CD Pipelines for Better DevOps

When you hear "CI/CD," there's a good chance Jenkins comes to mind. It's the open-source automation server that has been at the heart of countless development pipelines for years. At its core, Jenkins is all about automating the build, test, and deploy cycle, letting development teams ship software faster and more reliably. Its massive plugin ecosystem and open-source flexibility have cemented it as a cornerstone of modern DevOps.
Why Jenkins Still Leads in DevOps Automation
Before we roll up our sleeves and get into the nitty-gritty of configuration, it's worth taking a moment to appreciate why Jenkins is still such a powerhouse. In an era of shiny new cloud-native tools, Jenkins holds its ground, especially for organizations that need granular control over their software delivery lifecycle.
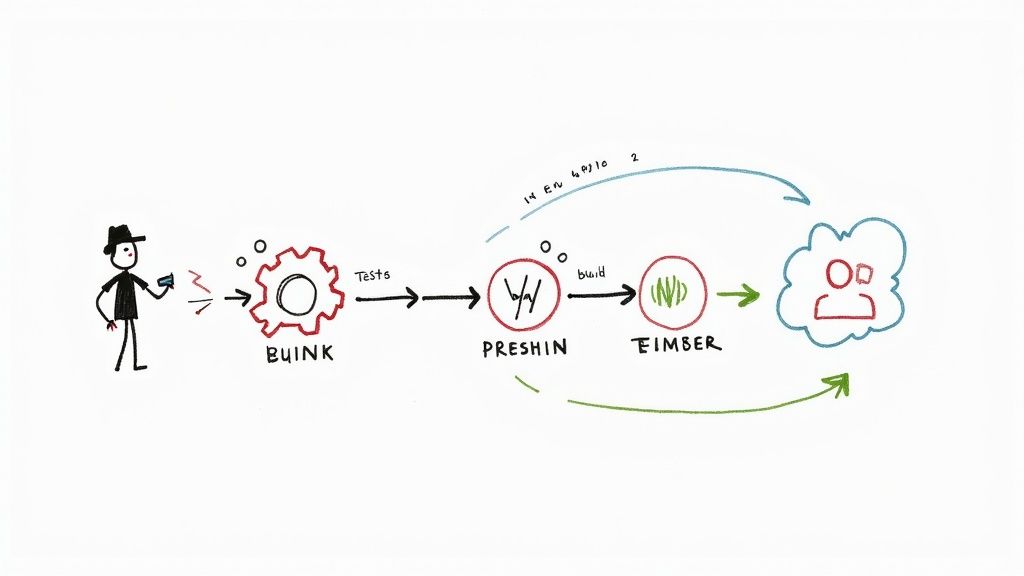
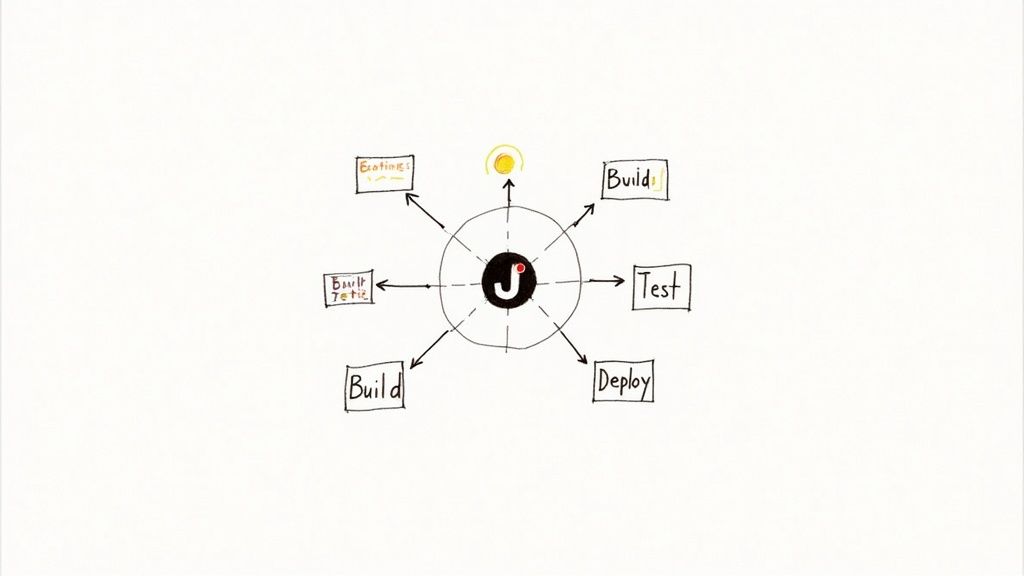
Its staying power isn't just about being the legacy option; it’s about incredible adaptability. Think of Jenkins as a central hub, capable of connecting a wild variety of tools and technologies. This makes it a lifesaver in complex environments where you might need to integrate anything from an old-school mainframe to a cutting-edge container orchestration platform.
The Power of the Plugin Ecosystem
One of the biggest reasons to bet on Jenkins is its sprawling plugin library. With over 1,850 community-contributed plugins available, you can connect Jenkins to virtually any tool in your stack.
Imagine you need to integrate a niche static analysis tool or a proprietary deployment system. With other platforms, you might be stuck writing complex custom scripts—if it's even possible. With Jenkins, there’s a good chance someone has already built a plugin for that. This flexibility is gold because it lets you build a workflow that fits your team, not the other way around.
Jenkins' true strength lies in its ability to be whatever you need it to be. It’s a blank canvas for automation, giving you the power to construct a CI/CD process that fits your team's exact workflow, not the other way around.
This extensibility isn't just a convenience; it delivers real business results. We've seen enterprises use Jenkins to automate highly complex testing scenarios, pushing their build success rates from a respectable 60–85% up to an impressive 98%. That’s the kind of tangible impact a well-oiled Jenkins pipeline can have.
Unmatched Customization and Control
As an open-source platform, Jenkins gives you the keys to the kingdom. You aren't locked into a vendor's ecosystem or at the mercy of their feature roadmap. This kind of freedom is critical, especially for companies in regulated industries like finance or government that have to meet strict security and compliance standards.
With Jenkins, you can:
- Host on-premises for total data sovereignty and security.
- Tweak the source code to build out custom functionality.
- Define intricate pipelines using a
Jenkinsfile, embracing "Pipeline as Code" to make your build process version-controlled and rock-solid repeatable.
This level of control, combined with its huge footprint—holding an estimated 44% market share—cements its role as a key player in automation. When you see stats showing a potential ROI of up to 426% from productivity gains, it's easy to see why it remains a top pick for serious DevOps teams.
Yes, the user interface has historically been a bit of a pain point, but recent updates are bringing a much-needed modern touch, making it more welcoming for newcomers. As we get into setting up your first pipeline, you'll see how Jenkins merges its legacy of reliability with modern CI/CD practices. If you're curious about the broader landscape, it's helpful to see how Jenkins stacks up in our CI/CD tools comparison.
Setting Up Your Jenkins Environment for Success
A powerful Jenkins CI/CD pipeline doesn’t magically appear. It’s built on a stable, well-prepared foundation. Taking the time to get your environment right before you even download Jenkins will save you from a world of headaches later on. Think of this as the pre-flight check that ensures a smooth journey into automation.
First things first, you need to provision the right hardware. While Jenkins can technically run on minimal specs, any real-world setup is going to demand more. For a small team or a pilot project, you might get by with a controller node that has 2 vCPUs and 4 GB of RAM. But for a production environment juggling multiple projects, you should be aiming for at least 4 vCPUs and 8-16 GB of RAM to keep performance bottlenecks at bay.
Disk space is another detail that’s easy to get wrong. A base install is tiny, but your build artifacts, logs, and workspaces will eat up storage faster than you think. A good starting point is 50 GB of SSD storage for the controller, but be ready to scale this as your usage grows. Fast disk I/O is crucial here, so always opt for SSDs over old-school hard drives.
Nailing the Java Development Kit Installation
Jenkins is a Java application, plain and simple. That means having the correct Java Development Kit (JDK) installed is non-negotiable. Currently, Jenkins requires JDK 11, 17, or 21. My advice? Stick with a Long-Term Support (LTS) version like JDK 17 for maximum stability.
Installing the wrong version is a classic pitfall that leads to all sorts of mysterious errors during setup or when you start adding plugins. Once you've installed your chosen JDK, you must configure the JAVA_HOME environment variable. It's a simple but vital step that tells Jenkins where to find its Java runtime.
After setting it, pop open your terminal and run a quick command to verify the path. This little confirmation step ensures the system sees the right Java version, preventing a lot of startup failures.
Pro Tip: Whatever you do, don't run Jenkins as therootuser. Creating a dedicated, non-privileged user (e.g.,jenkins) is a fundamental security best practice. This simple action contains the potential damage if the Jenkins instance is ever compromised, isolating its processes from the rest of your system.
Preparing Your Version Control System
Your code needs a home, and for most of us, that's GitHub, GitLab, or another Git-based provider. Before you can hook it up to Jenkins, you'll need a repository ready to go. Go ahead and create a new, empty repository for the project you’re about to automate.
Next, you'll need a secure way for Jenkins to talk to that repository. The best approach is generating a Personal Access Token (PAT).
- For GitHub: Head to your Developer settings and generate a new token with
reposcopes. This gives Jenkins just enough permission to clone the repository and update commit statuses. - For GitLab: Go to Access Tokens and create a token with
api,read_repository, andwrite_repositoryscopes.
Treat these tokens like passwords—they're just as sensitive. Store them securely, because you’ll need one when you configure the pipeline job in Jenkins.
With your hardware provisioned, Java installed, and repository access configured, your environment is now perfectly primed for a successful Jenkins installation.
Your First Jenkins Pipeline with Jenkinsfile
Okay, with the setup out of the way, it's time for the fun part: bringing your first Jenkins CI/CD pipeline to life. This is where we move from theory to a tangible, automated workflow that you can build on. We’re going to focus on doing this the right way from the start, using Pipeline as Code.
First things first, you need to get the Jenkins service running. Whether you installed it with a package manager like apt or are running it inside a Docker container, the process is pretty similar. Once it's active, just pop open a browser and head to http://localhost:8080.
You'll be asked to unlock Jenkins with an initial admin password. The service generates this and tucks it away in a file on the server. Grab that password, paste it in, and you’ll land on the setup wizard. It's a straightforward process that guides you through installing some recommended plugins and creating your first admin user.
Understanding Pipeline as Code with Jenkinsfile
The modern, and frankly, the best way to define a Jenkins CI/CD workflow is with a Jenkinsfile. This is just a text file that you commit directly into your project's source code repository. Treating your pipeline definition as code gives you some massive advantages:
- Version Control: Your pipeline is versioned right alongside your application. You can track its history, see who changed what, and roll back if something breaks.
- Collaboration: Everyone on the team can view and suggest improvements to the pipeline through pull requests, just like any other piece of code.
- Repeatability: A
Jenkinsfilemakes your build process portable. You can easily spin up the same pipeline on a different Jenkins instance or in a new environment without manual configuration.
This "Pipeline as Code" philosophy is the cornerstone of a transparent and scalable automation culture. It’s no wonder its adoption has been explosive. Between June 2021 and June 2023, the number of monthly Jenkins Pipeline jobs shot up by 79%, from around 27 million to nearly 48.6 million. This isn't just a trend; it's a fundamental shift in how teams deliver software. You can dig into more stats over on the CD Foundation's website.
Crafting a Declarative Jenkinsfile
Jenkins gives you two flavors of pipeline syntax: Scripted and Declarative. For most people, especially when you're starting out, Declarative Pipeline is the way to go. It's much more structured and readable, which makes creating and maintaining your pipeline a whole lot simpler.
Let's look at a basic Declarative Jenkinsfile.
pipeline {
agent any
stages {
    stage('Checkout') {
        steps {
            echo 'Checking out source code...'
            // This is where you'd pull your code
            git 'https://github.com/your-username/your-repo.git'
        }
    }
    stage('Build') {
        steps {
            echo 'Building the application...'
            // An example for a Node.js project
            sh 'npm install'
        }
    }
    stage('Test') {
        steps {
            echo 'Running unit tests...'
            // A typical test command
            sh 'npm test'
        }
    }
}
}
This simple structure is the backbone of nearly every pipeline you'll build. It's clean, logical, and easy for anyone on your team to understand what's happening at a glance.
Think of a well-structuredJenkinsfilelike a recipe. Eachstageis a distinct step, and thestepsare the specific actions you take. Keeping it clean makes your automation process easy to follow and maintain.
Here’s a quick breakdown of the key pieces:
pipeline: The main block that wraps your entire pipeline definition.agent any: This tells Jenkins it can run this job on any available agent. It's the simplest way to get up and running.stages: This contains all the distinct phases of your pipeline, like building, testing, and deploying.stage('Name'): Eachstagedefines a specific part of the workflow. The name you give it shows up in the Jenkins UI, making it easy to visualize your pipeline's progress.steps: This is where the real work happens. Inside astage, thestepsblock holds the actual commands, whether it's running a shell script (sh), checking out code (git), or just printing a message (echo).
Launching Your First Pipeline Job
Now that you have a Jenkinsfile committed to your repository, the last piece of the puzzle is telling Jenkins about it.
From your Jenkins dashboard, click "New Item." Give your job a name, select "Pipeline" from the list, and hit OK. This takes you to the configuration page.
Scroll down to the "Pipeline" section. This is where you connect your job to your repository.
- Definition: Change the dropdown to "Pipeline script from SCM."
- SCM: Select "Git."
- Repository URL: Paste in the URL to your Git repository.
- Credentials: If your repo is private, you’ll need to add the Personal Access Token you created earlier.
- Script Path: This defaults to
Jenkinsfile, which is exactly what we need.
Save your configuration, and you're all set! On the job's main page, click "Build Now." You'll see Jenkins kick off the pipeline, lighting up each stage in the UI as it runs. And that's it—you've just launched your first automated Jenkins CI/CD pipeline.
Advanced Pipeline Optimization Techniques
Getting your first Jenkins CI/CD pipeline up and running is a huge win, but it’s really just the starting point. The real magic begins when you start to refine that pipeline, aiming to shave precious minutes—or sometimes even hours—off your build and test cycles.
A fast, efficient pipeline isn’t just about saving a few bucks on compute costs. It's about tightening the feedback loop for your developers. A slow pipeline is a productivity killer. When an engineer has to wait 30 minutes or more for feedback on a change, they switch context, their flow is broken, and momentum is lost. Optimizing your pipeline is about giving that valuable time back to your team.
Let's move past the basics and dig into some powerful techniques that can turn your standard pipeline into a high-performance automation machine.

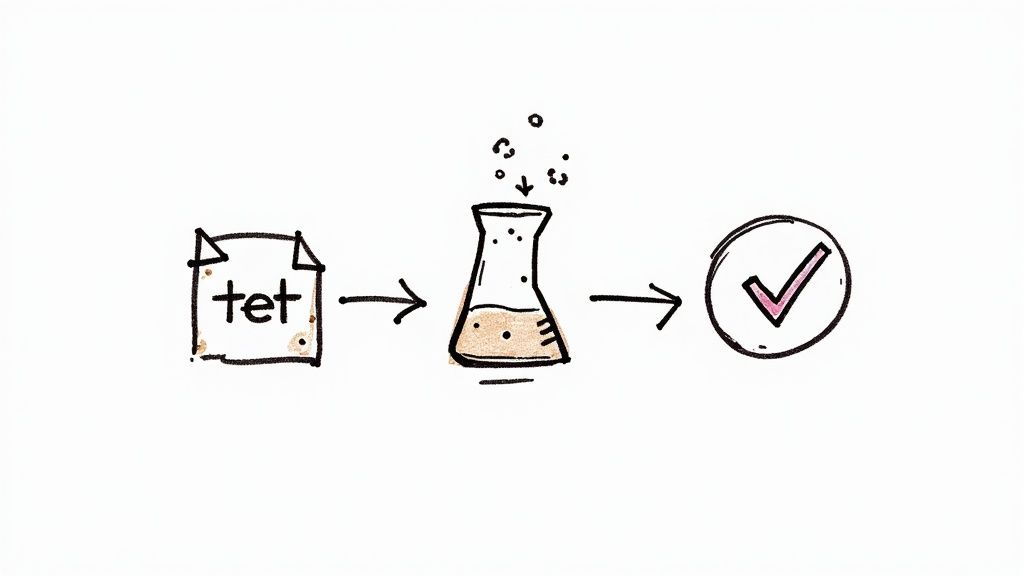
This visual lays out the fundamental journey of code, but the biggest gains come from optimizing what happens within each stage, especially during the build and test phases.
Running Stages in Parallel
One of the most impactful changes you can make is to run your stages in parallel. By default, Jenkins executes each stage sequentially, one after the other. If you have a 10-minute build, a 15-minute integration test suite, and a 5-minute security scan, your total pipeline time is a cumulative 30 minutes.
But think about it: do those tasks really depend on each other? Often, they don't. The security scan probably doesn't need to wait for the integration tests to finish. By running them in parallel, you can slash your total execution time. The pipeline's duration becomes the length of your longest stage, not the sum of all of them.
Here’s how you can set this up in your Jenkinsfile:
stage('Build and Test in Parallel') {
parallel {
stage('Unit Tests') {
steps {
echo 'Running unit tests...'
sh './run-unit-tests.sh'
}
}
stage('Integration Tests') {
steps {
echo 'Running integration tests...'
sh './run-integration-tests.sh'
}
}
stage('Linting') {
steps {
echo 'Running linter...'
sh './run-linter.sh'
}
}
}
}
In this setup, unit tests, integration tests, and linting all kick off at the same time. If the integration tests are the longest job at 15 minutes, the entire parallel block completes in just 15 minutes. You’ve just cut your pipeline time in half.
Distributing the Workload with Agent Nodes
As your team and project portfolio grow, running every single job on the main Jenkins controller is a recipe for disaster. The controller's real job is to orchestrate pipelines and manage the UI, not to do the heavy lifting of compiling code or running resource-intensive tests. Overloading it grinds everything to a halt.
The solution is to use agent nodes. These are separate machines that connect to the Jenkins controller and take on the actual build jobs. This distributed approach offers some serious advantages:
- Scalability: Need more capacity? Just spin up more agents. Your CI/CD system can grow right alongside your team.
- Isolation: You can create specialized agents for specific tasks. Maybe you need macOS agents for building iOS apps or Linux agents with specific SDKs installed for your backend services.
- Performance: Offloading the work keeps the Jenkins controller light and responsive, focused on its core task of workflow management.
Telling your pipeline to use an agent is straightforward. You can assign labels to your nodes (like linux-docker) and then simply reference that label in your Jenkinsfile.
pipeline {
agent { label 'linux-docker' }
// ... your stages go here
}
This tells Jenkins to find an available agent with the linux-docker label and run the entire pipeline there, keeping the controller free.
Jenkins Pipeline Optimization Techniques Compared
Choosing the right optimization strategy depends on your specific bottlenecks. Some changes are quick wins, while others require more setup. This table breaks down the most common techniques to help you decide where to focus your efforts.
| Technique | Primary Benefit | Implementation Complexity | Best For |
|---|---|---|---|
| Parallel Execution | Drastically reduces total pipeline time | Low | Pipelines with multiple long-running, independent stages (e.g., tests, scans). |
| Distributed Builds | Improves scalability and controller stability | Medium | Growing teams, multiple projects, or resource-intensive build jobs. |
| Smart Caching | Speeds up builds by reusing dependencies | Medium | Projects with large dependency trees (Node.js, Java, Ruby). |
| Conditional Execution | Saves resources by skipping unnecessary stages | Low | Reducing CI load on feature branches or for non-code changes. |
Ultimately, a combination of these methods will give you the best results. Start by identifying your longest-running stages and see if they can be parallelized or if their dependencies can be cached.
Implementing Smart Caching Strategies
How much time does your pipeline waste downloading the same dependencies over and over again? For projects with large dependency trees—think Node.js, Java, or Ruby—this can easily add several minutes to every single build.
Smart caching is the fix. By storing dependencies on your build agent after the first run, subsequent builds can grab them from a local cache instead of fetching them across the network. This can make the setup phase of your job lightning-fast.
While there are various plugins and strategies, a common approach is to use a shared directory on the agent, keyed to your dependency file (like package-lock.json or pom.xml). The cache is only busted and rebuilt when that file actually changes.
A good caching strategy doesn't just make builds faster; it makes them more reliable. By reducing your reliance on external package repositories, you insulate your pipeline from network hiccups or registry downtime.
For more hands-on examples, you might be interested in our guide on using Jenkins to optimize your CI/CD pipeline, which dives deeper into practical applications.
Conditionally Executing Stages
Not every stage needs to run on every single commit. For example, deploying to a staging environment is probably overkill for a minor documentation fix on a feature branch. Running stages conditionally based on the branch name or other criteria is a fantastic way to conserve resources.
The when directive in a Declarative Pipeline gives you precise control over this.
stage('Deploy to Staging') {
when {
branch 'main'
}
steps {
echo 'Deploying to the staging environment...'
sh './deploy-staging.sh'
}
}
Here, the "Deploy to Staging" stage will only run for builds on the main branch. Commits to other branches will skip it, leading to much faster pipelines for day-to-day development.
By combining these advanced techniques—parallel execution, distributed builds, smart caching, and conditional logic—you can transform your Jenkins CI/CD setup from a simple automation tool into a highly efficient software delivery machine.
Automating Pull Requests with Mergify
So, you've optimized your Jenkins CI/CD pipeline and it's running like a well-oiled machine. That's a huge win. But what happens when the pipeline finishes? The most significant bottleneck is often what comes next: the pull request (PR) lifecycle.
Your developers push their code, Jenkins does its thing, and then… everything grinds to a halt. The whole process waits for a human to see the green checkmark and finally click that "Merge" button. This tiny manual step introduces delays and kills momentum—exactly the kind of friction CI/CD is supposed to eliminate.
This is where a tool like Mergify can completely change your game. By connecting Mergify to your Jenkins setup, you can build a truly hands-off workflow where PRs merge automatically the second all your checks pass. It’s a small change that has a massive impact, freeing up engineers to focus on their next task instead of babysitting pull requests.
Creating a Truly Hands-Off Workflow
Getting this set up is surprisingly straightforward. Mergify uses a simple YAML file, .mergify.yml, right in your repository to define its automation rules. To create a rule that waits for Jenkins, you just need to define a condition that checks for the successful completion of your Jenkins status check.
Here’s a practical example of what that looks like:
pull_request_rules:
- name: Automatic merge on CI success
conditions:- "#approved-reviews-by>=1"
- "status-success=Jenkins CI"
actions:
merge:
method: merge
In this setup, Mergify will only merge a pull request when two things happen: it gets at least one approving review, and the status check named "Jenkins CI" reports a success. Since your Jenkins pipeline is already reporting this status back to your Git provider, the integration just works.
To see what else is possible, you can dive deeper into how to supercharge your Jenkins workflow with Mergify.
Preventing Broken Builds with a Merge Queue
Automated merges are a great start, but a new problem can pop up when multiple PRs are ready to go at the same time. If you just merge them one after another without re-testing, you risk what’s called a "semantic conflict"—where two PRs that pass on their own end up breaking the main branch when combined. It's a frustratingly common issue for fast-moving teams.
Mergify's merge queue is built to solve this exact problem. Instead of merging PRs directly into your main branch, it adds them to a queue. The queue then systematically tests each PR against the very latest version of the target branch, making sure the cumulative result is always stable.
The merge queue acts as a gatekeeper for your main branch. It serializes merges and validates changes against the most up-to-date code, effectively eliminating the risk of a CI race condition that can bring development to a halt.
This is critical for keeping your codebase healthy. A broken main branch can block an entire engineering organization, costing thousands in lost productivity. The merge queue ensures that only validated, conflict-free code ever makes it in.
This kind of intelligent automation is part of a larger trend. The DevOps market is projected to grow from $18.4 billion in 2023 to $25 billion by 2025, and Jenkins still leads the CI/CD space with about 46.35% market share. This growth is fueled by the need for tools that can keep up with modern development speed, and integrations like Mergify are a key part of that ecosystem. You can find more details in these DevOps statistics.
In today's world, combining a powerful Jenkins CI/CD pipeline with smart automation isn't just a nice-to-have; it's a competitive necessity.
Got Jenkins Questions? We've Got Answers
When you're in the thick of a Jenkins CI/CD implementation, you're going to hit a few snags. It's just part of the process. From handling secrets to figuring out why a build is dragging its feet, every team runs into the same handful of questions.
Let's walk through some of the most common ones and get you clear, practical answers so you can get back to building.
How Should I Manage Secrets in Jenkins?
This is usually one of the first big hurdles. Let me be clear: you should never, ever hardcode API keys, passwords, or SSH keys directly into your Jenkinsfile. It's a massive security risk and makes rotating credentials an absolute nightmare.
The right way to do this is with the built-in Credentials Plugin, which comes standard with Jenkins. It’s designed specifically to store secrets safely. You can then inject them into your pipeline as environment variables when it runs, keeping them completely out of your source code and build logs.
For even better control, you can scope your credentials:
- Global Scope: Available to any pipeline on your Jenkins instance.
- Folder or Pipeline Scope: Locks them down to specific projects for tighter access control.
My advice? Always use the narrowest scope you can get away with. It's a simple practice of least privilege and a cornerstone of any secure Jenkins CI/CD setup.
Declarative vs. Scripted Pipeline Syntax
Jenkins gives you two ways to write your Jenkinsfile: Declarative and Scripted. Picking the right one from the start will save you a lot of headaches down the road.
Declarative Pipeline is the modern, more structured approach. It gives you a clean, predefined hierarchy (pipeline, agent, stages, steps) that's incredibly easy for anyone on the team to read and understand. For the vast majority of projects, this is what you should be using. Its simplicity and maintainability are huge wins.
Scripted Pipeline, on the other hand, is a more powerful, Groovy-based syntax. It offers almost unlimited flexibility for complex logic, loops, and conditional actions. But that power comes at a cost—a much steeper learning curve and pipelines that can quickly become difficult to maintain.
If you're starting a new project, just use Declarative Pipeline. Its rigid structure is a feature, not a bug. It pushes you toward best practices and keeps your automation accessible to everyone.
What Should I Check for a Slow Build?
"Why is my build so slow?" It's a classic. Before you start throwing more expensive hardware at the problem, pop open your build logs and see which stages are taking the most time.
More often than not, the culprit is one of these usual suspects:
- Slow Dependency Downloads: If
npm installormvn dependency:resolveis taking ages, you need a caching strategy. Reusing dependencies from a local cache instead of downloading them every single time can easily shave minutes off your build. - Serial Test Execution: Running thousands of tests one by one? That's your bottleneck. Break them up and run them in parallel stages. This one change can dramatically cut down your total execution time.
- Under-Resourced Agents: Keep an eye on the CPU and memory usage on your agent nodes during a build. If they're maxed out, your builds will crawl. The fix is straightforward: distribute the workload across more agents or upgrade to more powerful ones.
Ready to stop babysitting your CI and eliminate the manual work of merging pull requests? Mergify automates your entire PR lifecycle, from running checks to merging code, all while protecting your main branch with an intelligent merge queue. Ship faster and with more confidence. Learn more at Mergify.


