Mastering Git Fetch Tag A Practical Guide


When you’re working with a remote Git repository, you don't always need to pull down every single update. Sometimes, you just need a specific tag. That’s where git fetch tag <tag_name> comes in. It’s a precise command that lets you download a single tag without fetching all the other new commits, branches, or tags. Think of it as a surgical strike—you get exactly what you need, keeping your local repository clean and uncluttered.
Why Git Tags Are a Developer's Best Friend

Before we get into the commands, let's talk about why tags are so indispensable in modern development. A tag is essentially a permanent, human-friendly bookmark for a specific commit. While a branch is a moving target that shifts with every new commit, a tag is designed to stay put, forever marking a significant point in your project's timeline.
This stability is precisely why tags have become the industry standard for versioning. They give you a rock-solid reference point for key milestones, like:
- Official Releases: Marking commits for
v1.0,v2.1.5, orv3.0-beta. - Critical Hotfixes: Pointing to the exact code that patched a major security bug.
- Build Artifacts: Tying a specific build directly back to the code that produced it.
Tags are absolutely crucial for managing releases and are deeply integrated into most CI/CD pipelines. The official Git source repository, for instance, has well over 500 tags—a testament to how vital they are for managing large-scale projects. They provide a fixed snapshot without altering history. If you want to brush up on the fundamentals, you can learn more about version control in our guide.
Lightweight vs Annotated Tags
Git gives you two flavors of tags, and knowing which one to use can save you headaches down the road. It all comes down to how much information you need to store.
Here’s a quick rundown to help you decide.
Lightweight vs Annotated Git Tags
| Feature | Lightweight Tag | Annotated Tag |
|---|---|---|
| What It Is | A simple pointer to a commit. Think of it like a branch that never moves. | A full object in the Git database. |
| Metadata | Just the commit hash. No extra info. | Tagger's name, email, date, tagging message. |
| Signing | Cannot be signed. | Can be GPG signed and verified. |
| Common Use | Private, temporary labels or quick personal markers. | Official releases, public tags, and important milestones. |
The takeaway? If it's for public consumption or a major internal release, always go with an annotated tag.
Lightweight tags are just what they sound like—a simple name pointing to a commit. There's no extra information, which makes them great for temporary or private labels that don't need a formal record.
On the other hand, annotated tags are full-blown objects within Git's database. They store crucial metadata, including who created the tag, when they did it, and a message explaining why. They can even be cryptographically signed with GPG for an extra layer of security.
Pro Tip: Always use annotated tags for public releases. That extra metadata creates an invaluable audit trail, explaining the "what" and "why" behind a version. It's a lifesaver for team collaboration and long-term project maintenance.
Getting a Grip on Tags in Your Daily Workflow
Alright, let's get practical. You'll run into a few common situations in your day-to-day work where you absolutely need to sync up with remote tags. Knowing which command to reach for in each scenario is key to keeping things moving smoothly.
Most of the time, you just need to make sure your local repository knows about all the new tags from the remote. This is basic housekeeping—it gives you a complete picture of all the releases and important milestones before you check out an old version or prep for a new release.
Grabbing All Remote Tags
For this, your go-to command is git fetch --tags. This little instruction tells Git to phone home to your remote (usually origin) and download every single tag that it has but you don't.
Fetches all tags from the default remote (origin)
git fetch --tags
This command is completely safe. It’s non-invasive, meaning it won’t mess with your current branch or any files you're working on. It simply updates your local repo's knowledge of what tags exist out there on the remote. If you're a bit fuzzy on how this differs from other commands, you can explore the differences between git pull and git fetch in our guide.
Important Takeaway: Usinggit fetch --tagsis the most foolproof method to get a complete set of tags. Relying on a simplegit fetchcan be misleading; it might miss tags that aren't directly attached to the branches it's fetching, leaving you with a spotty history.
Fetching a Single, Specific Tag
But what if you don't need every tag? Let's say a teammate pings you to investigate a bug found in version v2.5.1. In a project with hundreds of releases, fetching all 500+ tags is just overkill.
For these kinds of surgical operations, you can fetch a single tag by name.
Fetches only the tag named v2.5.1 from the origin remote
git fetch origin tag v2.5.1
This is incredibly efficient. It downloads only the necessary tag object and its associated commit, which saves bandwidth and keeps your local repository from getting cluttered. This kind of precision is a lifesaver in large-scale development, especially when you think about platforms like GitHub managing millions of repositories with countless fetches happening every day. It's a targeted approach that respects both your local machine and the remote server's resources.
Handling Tag Updates and Overwrites Safely
In a perfect world, a Git tag is forever. Once you create v1.0, it should always point to that exact release commit, acting as an immutable marker in your project's history. But let's be real—we don't live in a perfect world. Mistakes happen. A last-minute bug fix gets missed, and suddenly v1.0 is pointing at the wrong commit.
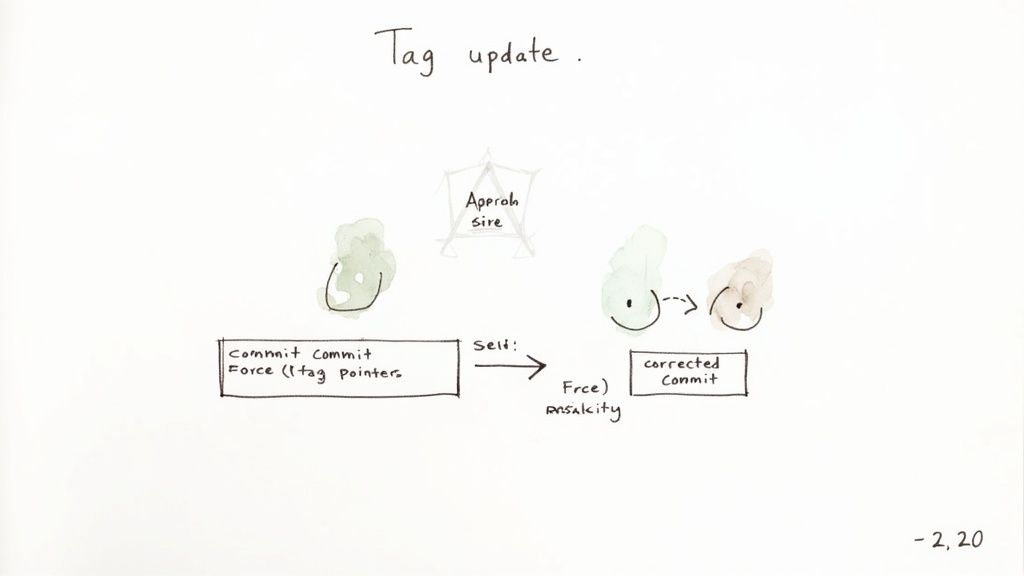
When this happens, you're faced with the tricky task of updating a tag that already exists on the remote. This is something you should always approach with caution, because you're essentially rewriting a piece of your project's official history.
Thankfully, modern Git has some built-in safeguards to prevent you from accidentally blowing away a tag. Before Git version 2.20, fetching would blindly accept any tag updates from a remote, which was a recipe for unintentional changes. Since the 2.20 release, git fetch now rejects any tag update that isn't explicitly forced. This change brought its behavior in line with git push, adding a much-needed layer of consistency and safety. You can get more details about this important safety change on the official Git documentation.
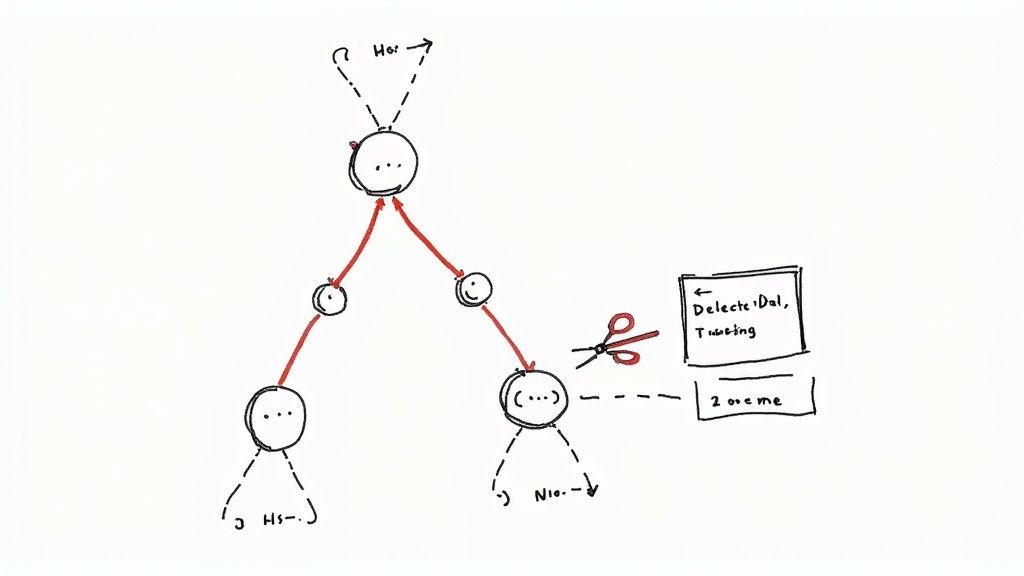
Correcting a Mistagged Release
So, let's walk through a common scenario. Imagine you tagged commit A as v2.0.0, but you quickly realize it should have been on commit B. To fix this, you first need to sort it out on your local machine.
- Delete the local tag:
git tag -d v2.0.0 - Re-create the tag on the correct commit:
git tag -a v2.0.0 <commit_B_hash> -m "Corrected v2.0.0 release"
Now for the important part: getting this correction to the remote. A standard git push won't cut it here; Git will reject it. You have to be explicit about your intent to overwrite.
Force-push the updated tag to the origin remote
git push origin v2.0.0 --force
Or, if you prefer the more specific refspec syntax, which I find a bit clearer:
This does the same thing, explicitly matching the local and remote tags
git push origin +refs/tags/v2.0.0
A Word of Caution: Force-pushing a tag is a destructive action. It’s crucial to communicate with your team before you do it. Everyone will need to update their local copy of the tag to stay in sync and avoid confusion.
After you've pushed the change, your teammates will have to run a forced git fetch tag command to pull down the corrected version. If they just run a normal fetch, their local Git will reject the update, protecting them from unexpected history changes—exactly the kind of safety net you want in place.
Automating Tag Fetching in Your CI/CD Pipeline
In any modern DevOps setup, the CI/CD pipeline is the heart of your release process. It's what gets your code from a commit to your users. But for that engine to run smoothly, it needs the right information at the right time.
This is especially critical if you're using a tag-based release strategy, like Git-Flow. When you push a new version tag—say, v1.2.0—that’s the signal for your pipeline to kick off a build, run tests, and deploy. If your automation can't see that new tag, the whole process grinds to a halt before it even begins. Your pipeline is essentially blind to the very trigger it's designed to act on.
Essential CI Configuration
The problem is that most CI platforms default to a shallow clone of your repository. It’s a smart move to save time and resources, but it comes with a catch: it often skips fetching tags. You have to explicitly tell your pipeline to go grab them.
Take GitHub Actions, for instance. The standard actions/checkout step needs a little tweak to fetch the full history, including all your tags. You can get a deeper understanding of how these workflows get started by reading up on GitHub Actions triggers.
name: Check out the repository
uses: actions/checkout@v4
with:
This fetches all history and tags
fetch-depth: 0
It's a similar story over in GitLab CI. You'll want to adjust the GIT_STRATEGY to ensure you're working with a full clone.
variables:
Clones the full repository history
GIT_STRATEGY: clone
build_job:
script:
# Make sure we have the latest tags before we do anything
- git fetch --tags
- echo "Tags are now available for the build."
Pro Tip: Keep your build runners tidy by adding--prune-tagsto your fetch command (git fetch --prune --prune-tags). This simple flag tells Git to remove any local tags on the runner that have been deleted from the remote. It's a small change that prevents your CI from acting on obsolete version info, which can save you from some serious deployment headaches down the line.
Troubleshooting Common Tag Fetching Issues
Look, even the simplest Git commands can throw a curveball now and then. When git fetch tag doesn't do what you expect, it’s usually because of a few common hiccups that are thankfully pretty easy to sort out.
One of the most frequent culprits is just a simple configuration mismatch. Ever seen an error like fatal: couldn't find remote ref refs/tags/vX.Y.Z? Your first stop should be checking the remote's URL. It's surprisingly common for a project to move from one host like GitLab to another—say, Codeberg—and if your local setup still points to the old address, Git will come up empty-handed.
You can quickly check this with git remote -v. If it's wrong, a quick git remote set-url origin <new_url> will get you pointed in the right direction.
Another source of confusion is when a plain git fetch doesn't pull down any new tags. It’s important to remember that by default, git fetch only grabs tags that point to commits it's already fetching as part of a branch update.
The most reliable way to sync all tags is to be explicit: run git fetch --tags. This tells Git to go out and download every single tag from the remote, ensuring your local repository has a complete and accurate history of all releases. No guesswork involved.This is especially critical in automated environments. Think about it—CI/CD pipelines often rely on detecting new tags to kick off build or deployment jobs.
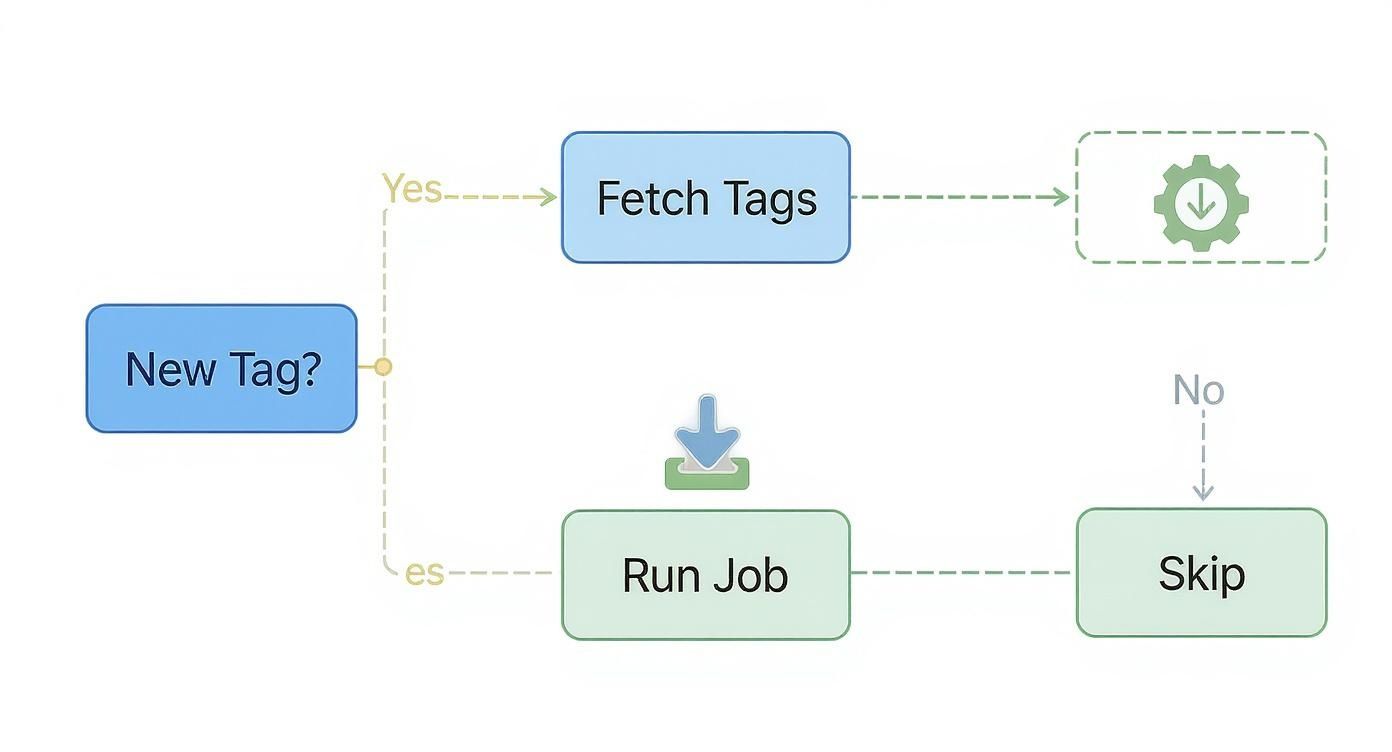
As the flowchart shows, fetching tags is the essential first step. If the pipeline can't see the new tag, that shiny new release you just pushed might never even get deployed. It’s a silent failure that can leave you scratching your head.
Got questions about git fetch tag? You're not alone. Here are some quick, no-nonsense answers to the things developers often run into when wrangling Git tags.
So, What's the Real Difference Between git fetch and git fetch --tags?
This one trips people up all the time. When you run a plain git fetch, Git is a bit lazy by default. It only grabs tags that point to commits it's already downloading as part of a branch update. This means you can easily miss older tags or tags on branches you aren't actively tracking.
Using git fetch --tags, on the other hand, is like telling Git, "Hey, I want everything." It forces Git to download all tags from the remote repository, regardless of whether they're tied to your current branches. It’s the only surefire way to get a complete picture of every version marker in the project's history.
Key Takeaway: If you need a full and accurate list of all remote tags, always reach forgit fetch --tags. Just relying on a simplegit fetchmight leave you working with an incomplete set of tags.
Will Fetching a Tag Wreck My Current Work?
Absolutely not. Running git fetch tag is one of the safest commands you can use. It's a read-only operation that won't mess with your current working directory, switch your branch, or touch any of your uncommitted changes.
All the command does is quietly download new data from the remote and update your local Git database. Specifically, it populates the references under .git/refs/tags/. You can sync up with remote tags confidently in the middle of your work without fear of losing a thing.
How Do I Clean Up Local Tags That Were Deleted on the Remote?
Keeping your local repository tidy is just good practice. Over time, tags get deleted on the remote, and you'll want to remove them locally to avoid confusion. The command you're looking for is git fetch --prune --prune-tags.
It’s a powerful one-two punch:
--prune: This part cleans up any remote-tracking branches that no longer exist on the origin.--prune-tags: This is the magic flag that specifically removes any local tags that have been deleted on the remote.
Running this combo is the best way to keep your local repository in perfect sync with the remote, ensuring you don't have obsolete tags hanging around.
At Mergify, we're obsessed with making complex development workflows feel simple. Our automation tools help your team slash CI costs and save precious time by intelligently managing pull requests and merge queues. Discover how Mergify can streamline your code integration process.